Access Denied
IMPORTANT! If you’re a store owner, please make sure you have Customer accounts enabled in your Store Admin, as you have customer based locks set up with EasyLockdown app. Enable Customer Accounts
Recent Posts

The 5 key advantages of digital sewing patterns
Jun 02, 2023
How to assemble PDF sewing patterns
May 25, 2023

How to print PDF sewing patterns
May 25, 2023
How to print PDF sewing patterns
Working with PDF patterns can save you a lot of time. In our files you have the possibility to select only your size(s) and include the seam allowance in one go. The pattern pieces do not overlap, so after printing, all there is left to do is assembling and cutting.
In this article we will walk you through the process of printing a pattern step by step. There are 2 ways to print your digital sewing pattern:
- Print A4/US Letter size at home.
- Have the large format file (A0) printed at a copy shop or at a local fabric store that offers a print-on-demand service.
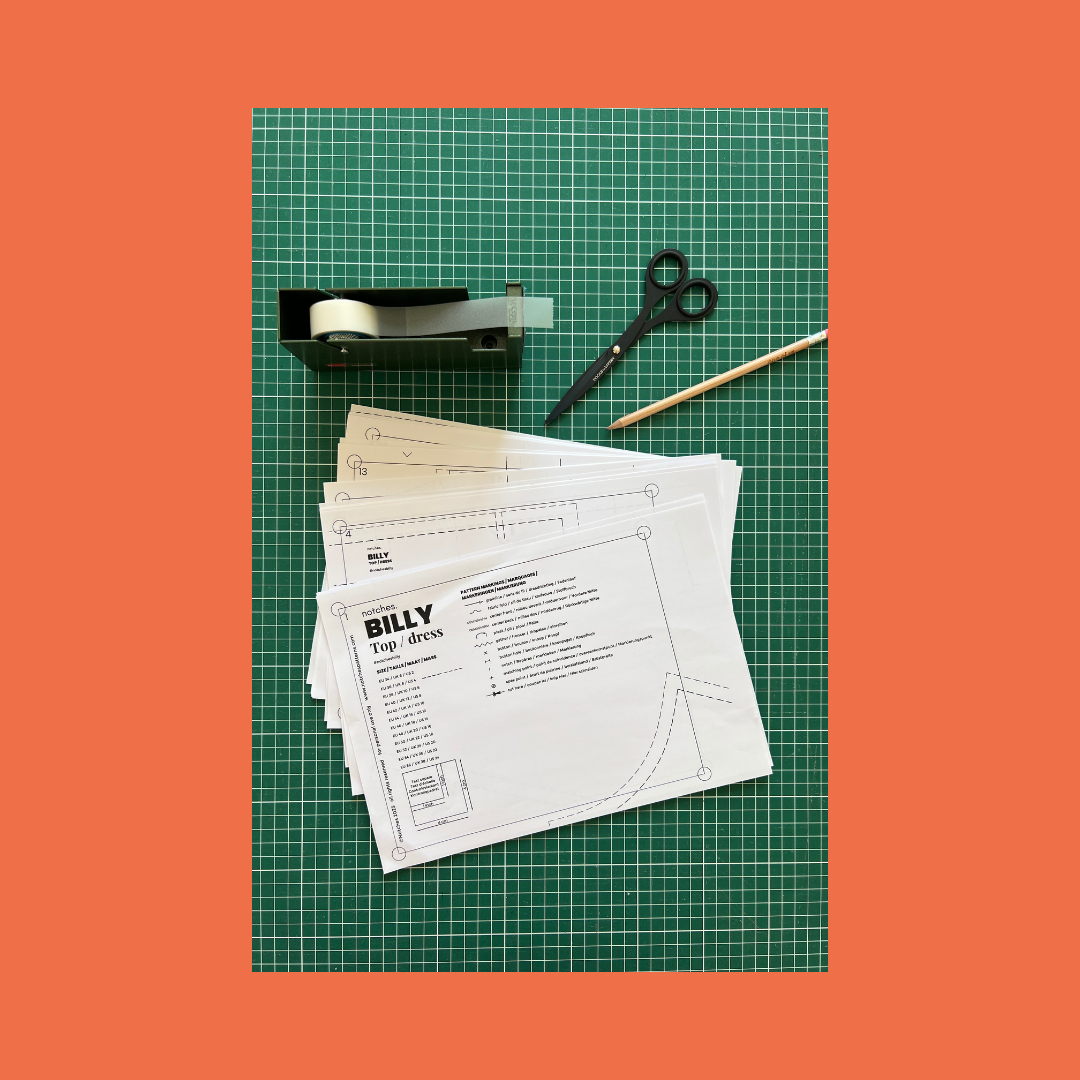
PRINT AT HOME
1. Download the PDF file that has A4/Letter mentioned in the file name. Open the file using Adobe Acrobat Reader or a similar software program.

2. Click on the 'layers' icon in the left menu bar. Keep the layers of your size(s) and seam allowance checked, as well as the layer ‘TEXT always on’ (which contains all the info about the pattern). Uncheck all the other layers because you don’t need them. This way you won’t have to search for the lines of your size(s) and you won’t have to trace. You can just print and cut straight away.

3. Open the print menu. Make sure 'actual size' or '100%' is selected. The print orientation (portrait/ landscape) should be set to automatic.

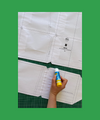
4. To check if the pattern pieces will end up coming out of the printer in the right scale, start by printing only the first page. That page contains a test square that you can measure to check if the scale is correct.

5. When the test square measurements are printed correctly you can go along and fill in the pages you wish to print in the print menu. We advise you to only print the pages that contain the pattern pieces of the design variation that you are going to make. You can find the overview of how the pattern pieces are laid out (print layout) in the instructions booklet. This is the file that has ‘Instructions’ is mentioned in the file name.

6. Click 'Print'.

PRINT AT COPY SHOP
1. Download the file that has A0/Copy shop mentioned in the file name.

2. Send the file to a local copy shop or a fabric store that offers a print-on-demand service. Important: this file also has different layers, so don’t forget to mention which layers need to be printed and which need to be turned off. (read step 2 of ‘print at home’ above)

3. Go and pick up your print order or have it sent to your house.
What to do next? Once you have your printed pages, you can go and assemble them!
We explain 2 ways to assemble PDF patterns in this article.
← Older Post Newer Post →
You might also like


€16,00 /
Bold sleeves, effortless style! Odell is a playful yet beginner-friendly top or short dress featuring striking puff sleeves—no gathers needed, just cleverly shaped seams. With a high round neckline in the front and a deep scoop in the back, she’s designed to turn heads. Quick to sew, easy to wear, and perfect for fabric mixing!
Scroll down to see more details about the fit, fabric, etc ...
WHAT YOU GET:
- All the pattern pieces and instructions to make at least 2 different variants, top and dress.
- Layered PDF A4, A0 and projector. With and without seam allowance.
- E-book with written and illustrated step by step instructions.
- Cheat sheet for an organised sewing practice.
LANGUAGE:
- The text on the pattern pieces is multilingual.
- The instructions are available in English and in Dutch.
CHOOSE YOUR LANGUAGE BEFORE ADDING TO CART
Size range: EU 34 - 56 / UK 6 - 28 / US 2 - 24


€16,00 /
Moriko is your go-to all-in-one pattern for knit fabrics, offering endless versatility. Create wardrobe staples like fitted T-shirts, tank tops, long sleeves and casual knit dresses for every season, or design a show-stopping festive outfit with her unique paneling, one shoulder variant and optional slits. A pattern that you can use over and over again, for the price of a box of chocolates!
Scroll down to see more details about the fit, fabric, etc ...
WHAT YOU GET:
- All the pattern pieces and instructions to make at least 36 different variants.
- Layered PDF A4, A0, PROJECTOR. With and without seam allowance.
- E-book with written and illustrated step by step instructions, as well as links to video tutorials.
- Cheat sheet for an organised sewing practice.
LANGUAGE:
- The text on the pattern pieces is multilingual.
- The instructions are available in English and in Dutch.
CHOOSE YOUR LANGUAGE BEFORE ADDING TO CART
Size range: EU 34 - 62 / UK 6-34 / US 2- 30


€16,00 /
Designed with a comfortable straight cut and dropped shoulders, this pattern is easy to sew and perfect for everyday wear. Whether you want to make a playful T-shirt or a stylish dress, Willy offers endless possibilities with 64 unique variations to choose from. And the best part is: you can make this design in either a woven fabric or a knit fabric!
Scroll down for more details about the fit, fabric, etc.
WHAT YOU GET:
This is a digital product that will be send to your inbox including these files:
- Layered PDF A4/US letter.
- Layered PDF A0.
- Layered PDF for projector.
- Pattern pieces with seam allowance included.
- E-book with step by step text and illustrations.
- Cheat sheet to keep with printed pattern pieces.
- All pattern pieces and instructions for 64 different variants.
LANGUAGE:
- English
- Dutch
Contact us at hello@notchespatterns.com if you have a question about this pattern.
Size range: EU 92 - 176 / UK-US 2 - 16yr


€16,00 /
From sun-drenched beach days to cocktail evenings, from peplum top to chic dress, Kaiko is the ultimate summer garment for all occasions. The best part: it comes in different CUP SIZES!!
Scroll down to see more details about the fit, fabric, etc ...
WHAT YOU GET:
- All the pattern pieces and instructions to make at least 46 different variants.
- Layered PDF A4, A0, PROJECTOR. With and without seam allowance.
- E-book with written and illustrated step by step instructions.
- Cheat sheet for an organised sewing practice.
LANGUAGE:
- The text on the pattern pieces is multilingual.
- The instructions are available in English and in Dutch.
CHOOSE YOUR LANGUAGE BEFORE ADDING TO CART
Size range: EU 34 - 62 / UK 6-34 / US 2- 30
Cup sizes: A to G
Invalid password
Enter